

After searching for tutorials and techniques to make this better I kept seeing embroidery hoops that came with plastic grids. I thought that would be my answer. If I had a grid for the hoop I would have better lines to use for placement and getting my designs straight. Because I bought my machine used I just assumed that the person I bought my machine from had lost the hoop grids. After extensive research I came to find that my hoops didn't come with grids. I was bummed. There had to be a way to get something like this that would fit my hoops.
After some brainstorming and lots of YouTube videos I figured it wouldn't be that difficult to make one. I could use my Silhouette Cameo to create the grid and then cut out the template. Should be easy right? Not so much.
I needed to get the hoop into Silhouette Studio somehow. At first I thought I could just print it from the embroidery software. That didn't work for me either. I couldn't get the grid lines to print. So instead I thought I could trace the inside of the hoop and scan that into my computer as an image to trace. I took the traced and imported into Silhouette studio. Using the trace function in Silhouette Studio I was able to get a start cut line for the hoop grid.

The trace was able to give me the inside of the hoop but didn't provide an edge for the plastic to sit in the hoop.
My next thought was to add a rounded edge using the ellipse tool. I created an ellipse that was the same width as my square and appeared to have the same rounded edge. After it was placed where I wanted I used the weld tool to make it one solid object without cut lines for both the rectangle and ellipse.


I wanted my center lines to stand out on the hoop so I changed colors so I could use the advance cut settings and cut by line color. Once I was this far I wanted to test to see if everything would fit right.
To do this I set the line width in line settings to .1 so they would print. I did a print and cut and sent this through the silhouette on paper to see if it would fit.

While it was really close it wasn't perfect. So I set out to see if there was a better way to do my initial trace so it would see the recessed edge. I decided to try and scan the hoop itself.
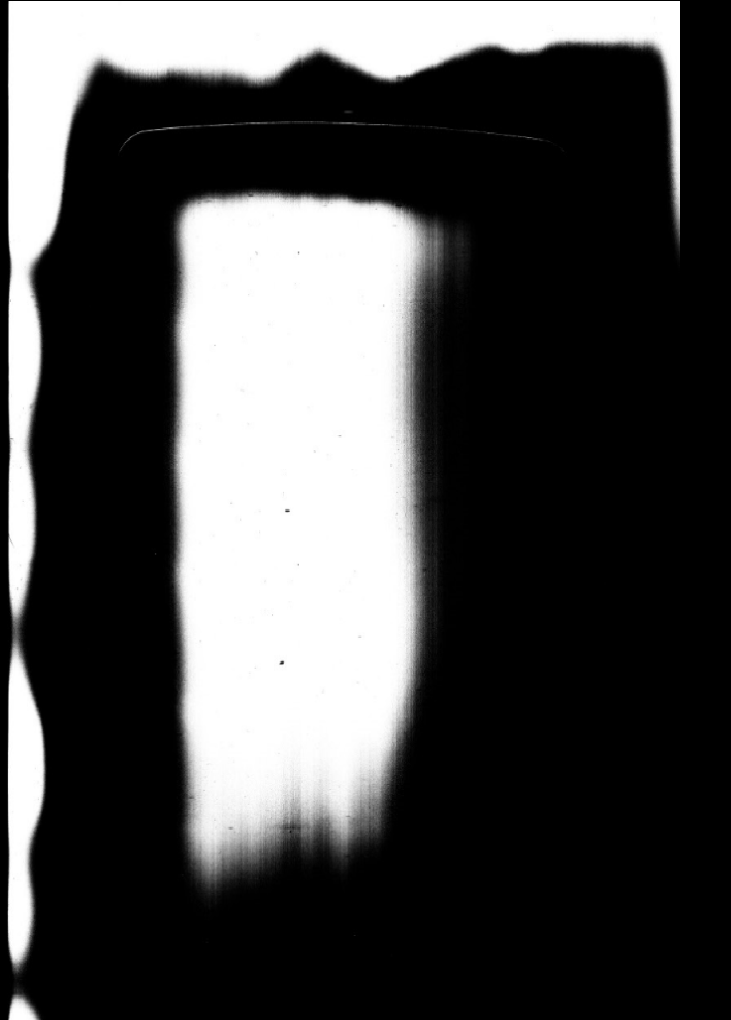
This didn't turn out the greatest. So I thought maybe the issue was it didn't have anything in the background. So I took a piece of vinyl that was bigger than my hoop and re scanned.


I then selected release compound path and ungroup until I was able to isolate the inner hoop line. I combined this with the grid I created and got the machine ready to create the template. I used quilters plastic as the hoop template. I started by creating the grid lines using the Amy Chomas pen holder for the Silhouette and permanent markers.


I can't wait to use this with larger designs or even trying the multi hoop function on my machine. The grid should help keep things where I need them to be.
No comments:
Post a Comment