

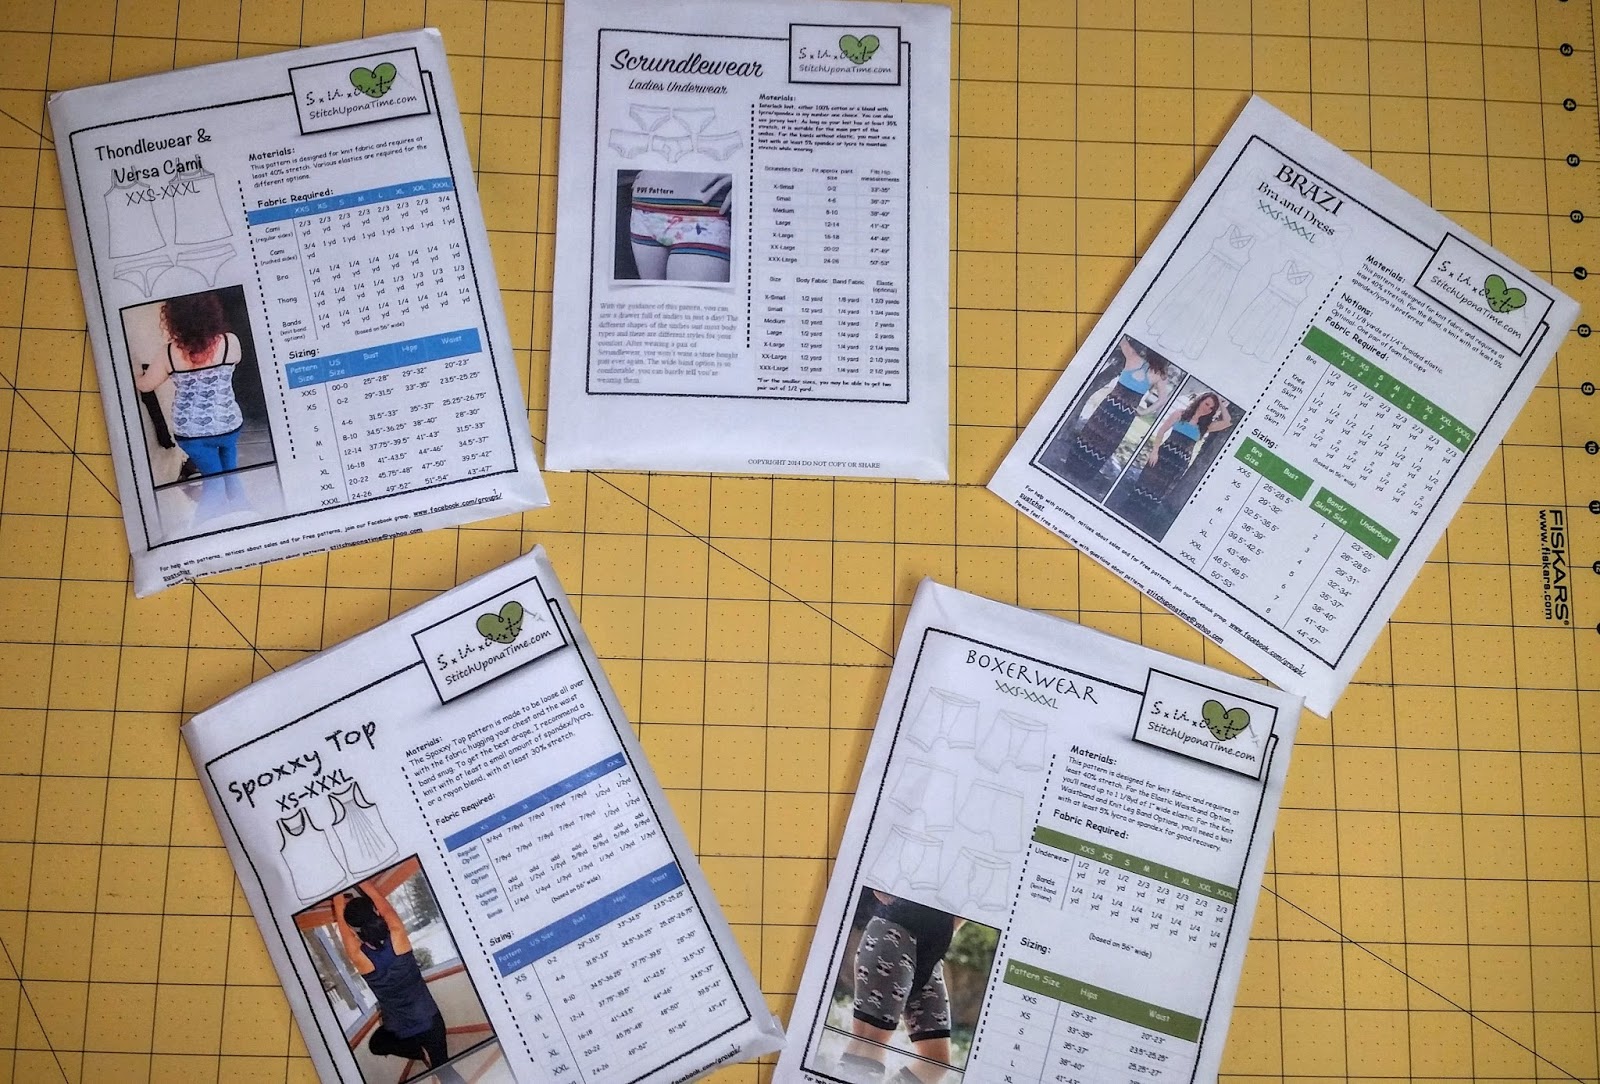
I have just recently dove into the world of online purchasing and using PDF patterns. This all started when I kept seeing these amazingly cute photos of homemade underwear popping up all over my Facebook feeds and on Pinterest. I was definitely intrigued by this pattern but kept telling myself "I really can't sew my own underwear can I?". Well as I am sure you have guessed the answer was yes.
While I was super excited to enter into the world of sewing knits with these patterns I ran into an organizing problem. I found perfect baskets at Target that work for my store bought patterns and they fit perfectly in with the rest of my sewing room decor but it didn't like the look of folded up printed out patterns sticking out of the baskets. I figured somewhere someone would have created a sewing pattern cut file to use with my Silhouette Cameo. After a little bit of searching without any results I decided to create my own cut file to use.
To figure out what size would work best with my other patterns I started by measuring one of my McCall's patterns. This ended up being about 6.5 by 8.25 inches. I decided to set this file up to use two letter size sheets of paper. The back would be a simple square that I could choose to cut with the Cameo or with a paper trimmer down to 6.45 by 8.2. This would allow it to sit nicely once the front side was folded.


To create the top flap I created a polygon. I started by making a rough shape of what I wanted the finished object to look like.

I wanted by tab to be about an inch tall so I adjusted the height settings to 1 inch and then made sure the width was the same size as my original rectangle. To make sure my angles were the same on both sides I created a diagonal line holding down shift to make sure it was a 45 degree angle. I replicated this for the other side using the replicate and mirror right.

From here I used the edit points function to align my points with my guidelines I created to ensure everything was even and matched on both sides. I then moved the shape to the top of the original rectangle and aligned it to the left and then ensured the bottom of the polygon overlapped the top of the rectangle.

I selected all the objects and welded them into one.

I was super excited I decided to do a test cut to see how everything came together. When I folded this I had some extra bulk near the folds so I decided to angle the corners a bit to help with that. I used the edit point function to do this. This worked out perfectly and reduced the bulk just the right amount.
The next step was to create a rectangle that I could fill with a photo of the pattern. I made it 6.5 x 8.25 to fill the front of the envelope. This is why I have turned on the registration marks for this cut. I also changed the line color to purple for use later with cutting.

Now that all the pieces are ready to go it is time to cut and assemble. To begin with I print the sheet making sure the registration marks are turned on. Once this is printed I will use the cut by color function in silhouette studio to first score my fold lines. I start by ensuring the purple box is selected. This is the shape that I filled with my photo. I use the silhouette pen holder and an embossing tool to do my scoring. Next I will cut out the rectangle with the flaps welded together. In my file this is the red box. The final cut will be the blue rectangle that is just slightly smaller than the rectangle with the photo.
To put together I just used tape runner on the side and bottom tabs. These fit my patterns perfectly and really fit well with my store bought patterns.
Click here to download Silhouette File.
This comment has been removed by a blog administrator.
ReplyDelete